Map
This page introduces to the following topics:
Map Navigation
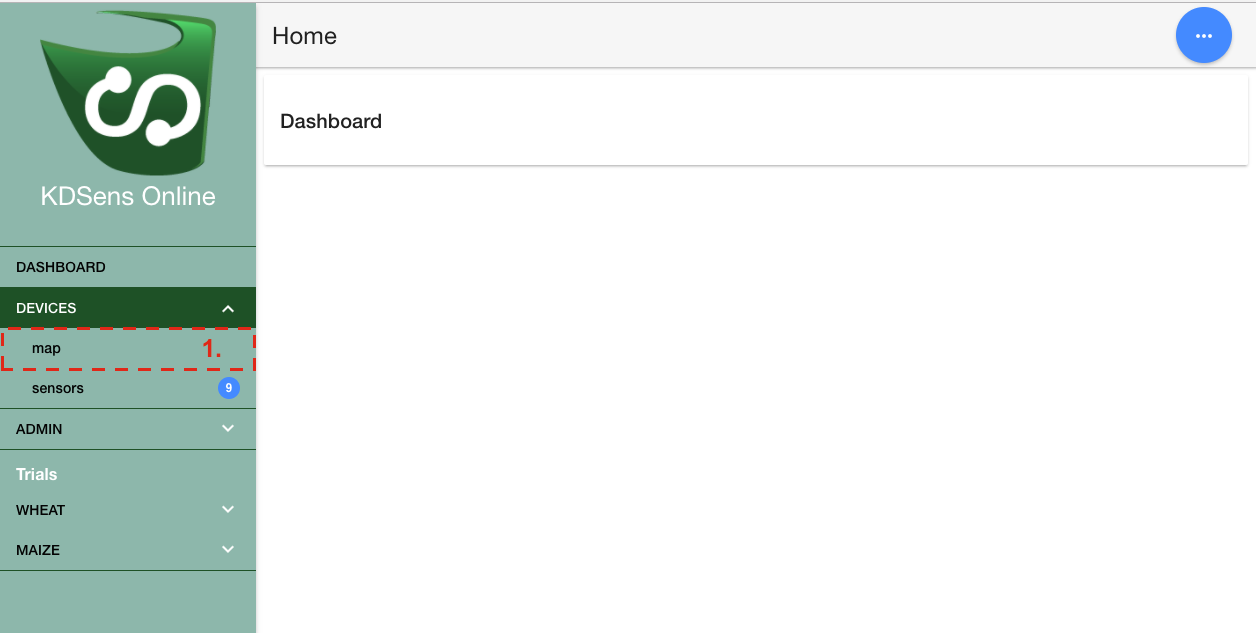
To display the KDSens map select Map from the main menu, as shown in the
‘Getting Started’ section of this guide and highlighted below as  .
.
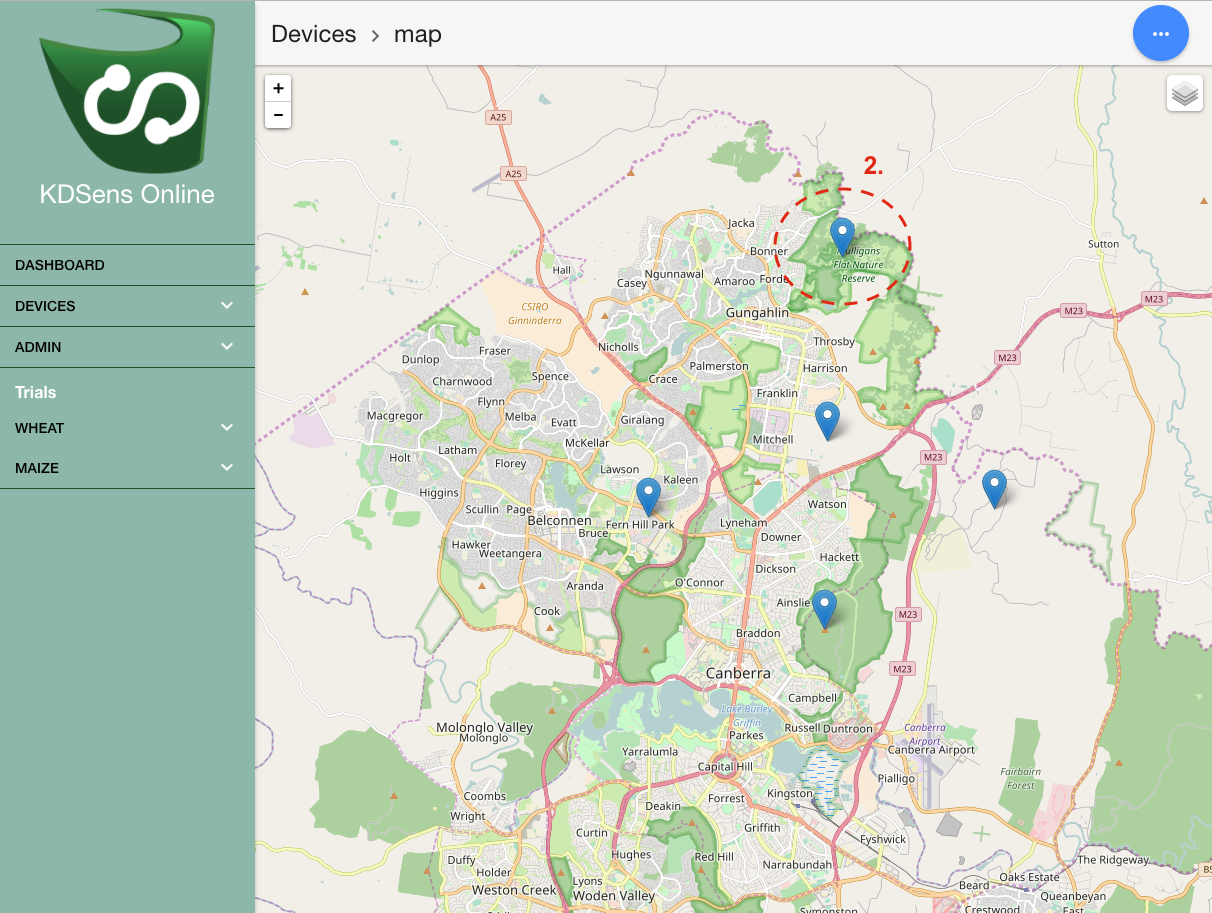
The KDSens map is navigable by selecting and dragging the mouse. Devices are shown on the map as blue pins (highlighted below in  )
)
Map Overlays
KDSens presents a few map overlays which can be toggled on or off.
Overlays can be seen and toggled by selecting the overlay button at the top right of the Map panel (as seen in ).
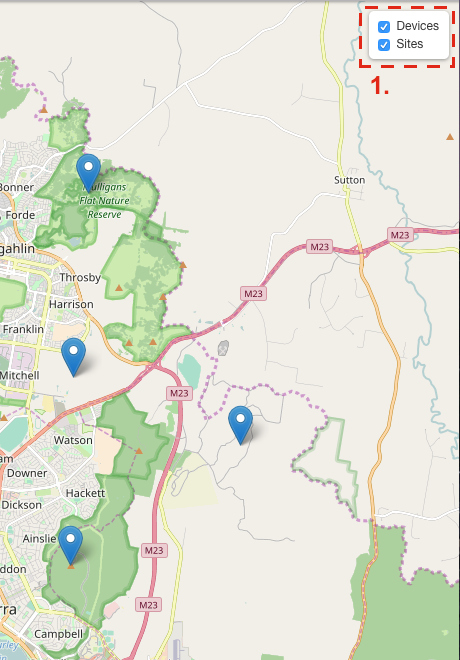
Selecting the Site overlay highlights any site locations on the displayed KDSens map. Selecting Devices display/hides the device pins.
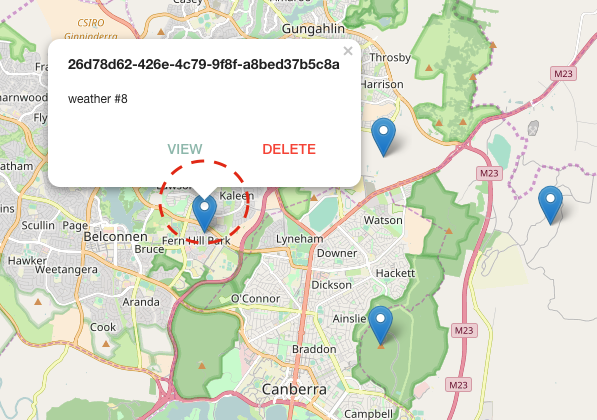
Selecting a Device
To select a device in KDSens and view it’s summary details (as shown below) select the device pin on the KDSens map. The dialog similar to that illustrated below will display:
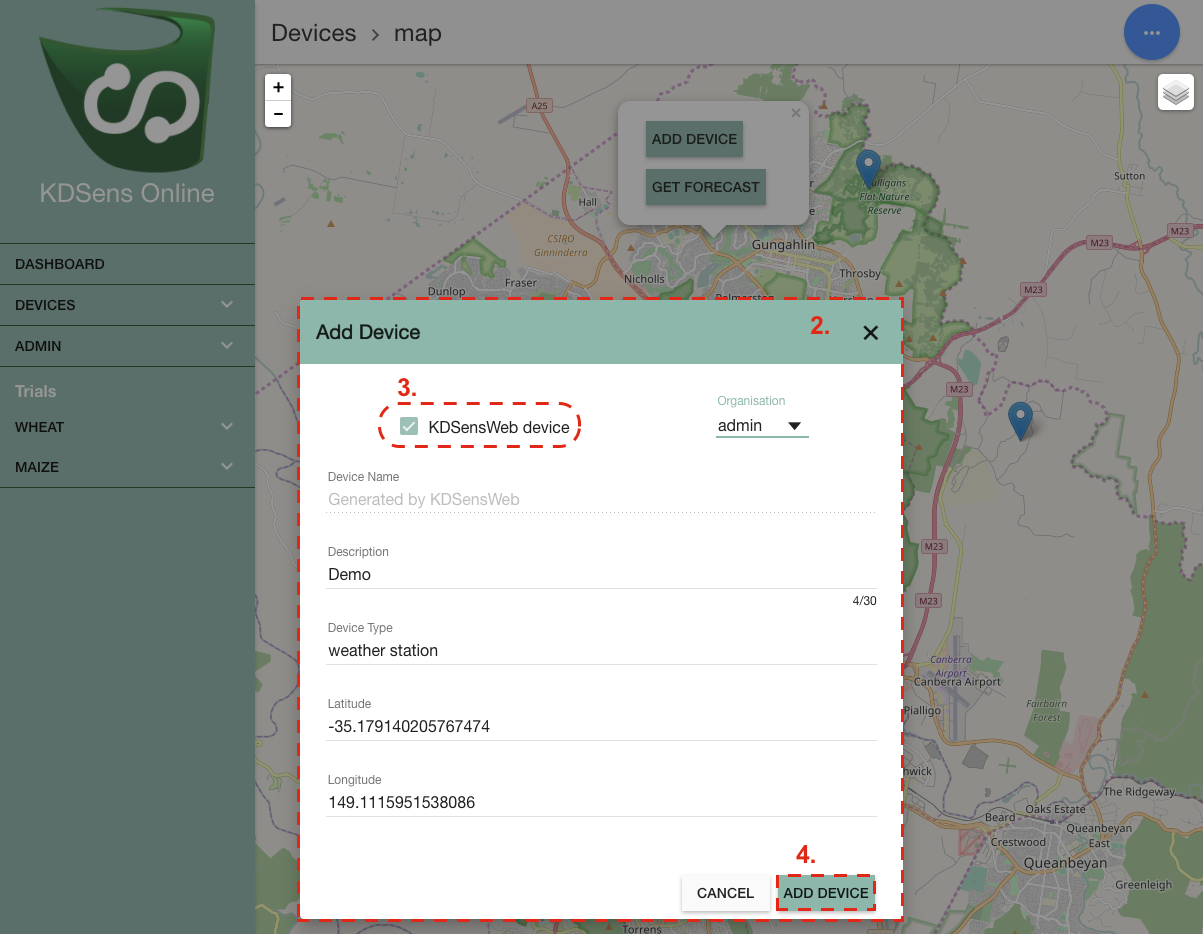
Adding a Device
A device can be added in KDSens by a left click on a point on the map. Two options will then appear in a dialog:
- Add device; and
- Get Forecast.
This can be seen in the example below at .

To add a device perform the following steps:
| Step | Action |
|---|---|
| 1 | Select the position on the map to locate the device with left mouse button. |
| 2 | Select the Add device from the menu |
| 3 | A second dialog will display ( ). Complete the required information. |
| 4 | Select the KDSens Web Device checkbox seen in  . . |
| 5 | Select the Device Type and add a short Description for the device (E.g. Basic Temperature and Humidity Sensor). |
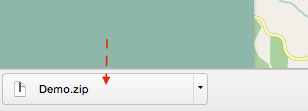
| 6 | Select Add Device in  which will commence a download of the agent, which can be added to the device initiating control with KDSens. This is described in depth in the section “Setting up a device”. which will commence a download of the agent, which can be added to the device initiating control with KDSens. This is described in depth in the section “Setting up a device”. |
Latitude and longitude coordinates will display the location where the device was added. In addition a blue pin will display for the created device which will also appear in the ‘Devices List’.
Warning
Once the device has been added the agent download should initiate.
Don’t lose this file as it will be needed later.
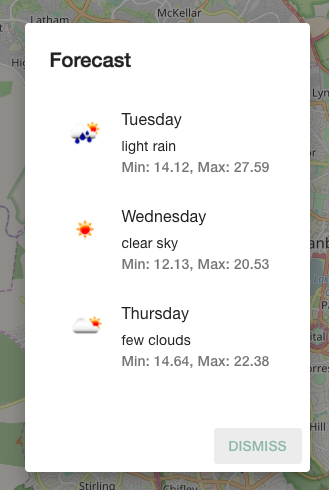
Getting a Forecast
To obtain a forecast for the selected point on the map, left button select the point then select Get Forecast. This opens a dialog showing the forecast for the current day.